

It's a very similar look, and if I could find similar beads and a nice button, I think I could easily make my own. The instructions were very clear and detailed, and there weren't many materials required. I did a quick online search and found supplies at Beads Direct. I bought 1mm black leather round cord for £1.49, and two packets of 4mm silver glass beads for £2.29 each:


I already had needle, thread, and some buttons. Including postage, the total expenditure came to £8.06. I followed the Crafts Unleashed tutorial to make my own bracelet. I did make a few changes, as I was having a little trouble with some of the techniques.
Firstly, I used a clipboard for holding the first loop firmly, then I pulled the leather cords tightly and taped them to the back of the clipboard. This meant I had two neat, parallel rows of cord to work on. When I left them dangling loose, I had trouble with cord and threads getting tangled and messy.
Secondly, I tied off each section of sewing thread, pulled the loose ends through the last bead sewn and trimmed them off. I then started a new thread by feeding it under one piece of the cord, finding the middle point, and tying a single knot. I then threaded the two loose ends onto a needle and started beading. I tried the method outlined in the tutorial, but my threads kept getting tangled. This was my first attempt.
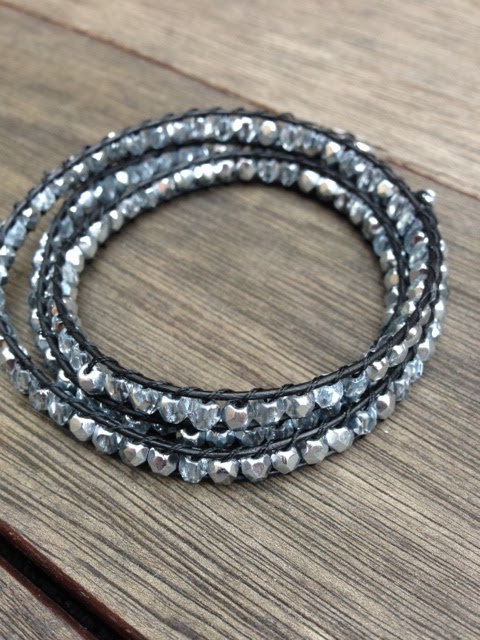

Overall I'm really happy with how the bracelet turned out. I'm going to have another try at making one that is more similar to the lovely Stella and Dot bracelet at the top of the page. A few things I would do differently next time:
- I need to do some research and find a more squared bead.
- Try using a thicker and stronger sewing thread, but just use one strand.
- Get some beeswax so I can wax my sewing thread. I think it would make it much easier to work with, and less likely to tangle.
- Find some decent buttons.
Instead of the sewing thread try clear beading plastic string or fishing line. Makes the bracelet much more durable!
ReplyDeleteThanks for the suggestions. I made a second version and used special nylon beading thread. It was much stronger - although I still need to work on my knotting technique as it came undone at one end last week.
Delete