21 May 2016

The Great British Sewing Bee - Season 4 Begins


If you've read my blog before, you know I'm a fan of The Great British Sewing Bee.  I love the fact that there is a popular sewing program on a major TV network ... and it's not full of bitchy, horrible people, who make incomprehensible things in the name of fashion.  It's good, old fashioned sewing, done by people who seem like they'd be fun to sew with.

I managed to do a blog post on all the episodes in Season 2, but didn't quite manage Season 3 - I still have a half-finished post on episode 1 in my drafts.  I've decided that I'm going to have a go at doing posts on the episodes this season.

The first episode kicked off with an introduction to our judges.

Image courtesy of www.radiotimes.com


The lovely Patrick Grant has returned, and continues to be elegant and charming.  Mae Martin has been replaced with Esme Young.  I'm reserving my judgement on Esme, but I so far I like the fact that she seems to offer honest feedback, rather than being polite and positive.  She might also bring a bit of cheeky "Mel and Sue" style commentary, which I find amusing.

The contestants are introduced throughout the show, but here is a quick snapshot of the group:

Image courtesy of GBSB Facebook page

Spoiler alert … this is where I'm going to start talking about what happened in week one.  If you don't want to find out what happened, stop reading now!!  You're always welcome to drop by again, once you've caught up on your viewing.

The Challenges 

1. Sewing from a Pattern

Sew a bias cut sleeveless blouse from a linear printed fabric with a chevron design (techniques include cutting on the bias, pattern matching, hidden bias binding) in 2.5 hours.

Image courtesy of The Thrifty Stitcher


The pattern chosen was deceptively simple.  A sleeveless blouse, with a hidden bias bound neckline. The tricky part of the pattern, as explained by Patrick, is that it had to be made in a linear printed fabric, cut on the bias, with the centre front and centre back seam meeting in a chevron (a "V" design).  The steps in cutting were explained as follows:

Images courtesy of The Great British Sewing Bee


I didn't think it was a particularly difficult pattern, but was surprised to see several contestants had little or no experience with bias cutting or pattern matching.  Josh spent at least half the challenge trying to figure out how to cut the pieces so they matched in the chevron "V".  Duncan had meant to practice bias cutting before the show, but hadn't got around to it.

There were some nice fabric choices.  I especially liked Jamie's red with black narrow stripe georgette, Charlotte's black and white triple stripe, and Rumana's white with black narrow stripe fabric.  There was much discussion of how difficult Jamie's georgette would be to sew.  Ghilaine chose a fabric with an uneven stripe that was impossible to match, and ended up abandoning it an hour into the challenge, and choosing something more practical.  Duncan chose my least favourite fabric - a pink, green and blue pastel stripe straight out of the 80s.

Josh was utterly baffled by the instructions and needed Charlotte to help him with cutting the pieces in the right direction.  At least an hour into the challenge Josh was still trying to cut the pieces out correctly.  Joyce also had to help Duncan figure out his stripes.  In the end Duncan spent so long perfectly matching his chevon pattern, that I'm surprised he was able to finish the garment.

Angeline had never done a bias bound neckline before, Charlotte cut her bias strip on the straight grain, and Duncan finished his neckline like he was doing a t-shirt neckband.  I know some contestants got frazzled and made some simple mistakes, but some of them seem seriously unskilled for a competition supposedly featuring "Britain's best home sewers".

I did notice that contestants this year seem to have learnt from previous seasons, and they almost all followed the instructions meticulously.  There were no unnecessary embellishments added, and only Duncan did his neckline binding incorrectly - which might have been down to him not understanding the directions properly.

Image courtesy of The Great British Sewing Bee


The judges gave their most positive comments on Charlotte (pattern well matched and neckline neat), Jamie (pattern matched perfectly through all four seams and neckline neat) and Tracy (fabric choice gave an interesting finish).

Their most negative comments were on Duncan (chevron perfectly matched, but binding uneven and hem too deep and falling down), Rumana (chevron upside down, armholes unfinished, neckline stretched at back, neckline binding not fully turned under), Josh (chevron upside down on front), Joyce (seams well matched, but neckline badly stretched).

The results from 10th place are Rumana, Josh, Duncan, Ghislaine, Joyce, Jade, Tracey, Angeline, Charlotte in second, and Jamie in first.

Image courtesy of The Great British Sewing Bee


2. Alter a Basic High Street Item

Take a basic lined maternity dress and transform it in 1.5 hours.  

Image courtesy of The Great British Sewing Bee


The dress provided was an simple sheath, with short sleeves.  It was, quite frankly, hideous.  It looks like some sort of uniform given to pregnant medical staff.

Jamie was one of the most adventurous and turned his dress into a sleeveless, floor length gown with a contrast fabric in a mock wrap, Rumana made a really pretty dress with a gathered, elasticised waistband made from an orange ribbon, and cut away some of her back neckline and added criss-crossed orange straps, Joyce added a gold sequinned fabric in godets (which I thought would look hideous) which looked fabulous.

Image courtesy of The Great British Sewing Bee


The judges gave their most positive comments on Jamie's complete transformation of the original dress, Joyce's well executed godets, and Rumana's cleverly reshaped and embellished neckline.

Their most negative comments were on all of the skirts (Angeline, Ghislaine, Duncan, Jade, Charlotte and Josh) which didn't fit, weren't creative enough and were badly sewn.  The only skirt that got a moderately positive comment was Charlotte's, as it fitted the mannequin well.  They also disliked Tracey's "flouncy" lace top with a chunky, separating sports zipper down the front.  It looked like she had sewn on some of those old fashioned, lace half-curtains from someone's kitchen window.

The results from 10th place are Tracey, Jade, Duncan, Josh, Ghislaine, Charlotte, Angeline, Rumana, Joyce in second and Jamie in first.

3. Sew a Showstopper

Sew a skirt to fit a real model in 5 hours.

This episode was touted as being one focused on basic garment construction.  Asking contestants to sew a skirt is pretty basic.  In the first episode of Season 2, contestants were asked to sew a silk nightgown, and in the first episode of Season 3, contestants were asked to sew a summer dress.  I certainly hope the challenges get a bit more ... um, challenging!

My favourite fabric choices were Rumana's beautiful woven brocade fabric that looked like an ikat print, Angeline's azure and magenta floral print on white, Duncan's beige silk "petal" fabric, and Josh's black floral print on white denim.  My least favourite fabrics were Jamie's blue floral brocade with a chiffon flounce, and Ghislaine's red and grey combination.

My favourite pattern choices were Rumana's self-drafted high waisted obi-wrap maxi skirt, Angeline's fitted pencil skirt with a peplum hem, Josh's long flared skirt, and Joyce's flared godet skirt.  My least favourite pattern choices were Duncan's badly fitted circle skirt, Tracey's skirt waistband that seemed to scoop down too low and accentuate the tummy area, and Jade's self-drafted high waisted tutu skirt.  Along the way Josh managed to lose his yoke pattern piece and had to draft one himself.

The judges gave their most positive comments on Angeline's well fitted peplum skirt (Esme commented that it "fits beautifully under her arse"), Rumana's obi-wrap maxi skirt drafted from an apron pattern, Jade's well fitted high-waisted tutu skirt (liked combination of grey & black tulle, silver trim and chunky exposed metal zip) that showed her style and personality, and Josh's flared skirt (not the most complicated, but executed extremely well).

Their most negative comments were on Tracey's puckered seam at the front, Ghislaine's poor choice of a very light fabric, Jamie's flounce badly hemmed and looked odd on front of skirt only, and Duncan's poorly fitted waistband and uneven hem.

I'm surprised that they didn't comment on a few things that really stood out to me.  Tracey's yoke was cut the wrong shape and scooped too low in the front, Charlotte's waistband either needed to sit higher or be made a bit tighter as the top edge seemed to jut out, and Jamie's appalling choice of fabric and pattern that was so dowdy.

The Final Results

The contestants went off for a coffee, while the judges discussed the weekend's work.
Those in danger were:

Josh - performed poorly in the first two challenges, but rescued himself with his showstopper skirt.
Duncan - had come bottom in the first two challenges.  His top was well matched in the chevron, but overall his finish let him down, his alternation skirt lacked ambition, and his showstopper skirt had a poorly fitted waistband and uneven hem.
Tracey - her top had been pretty well done, they did not love her alteration, and her showstopper skirt was puckered in front and had a very uneven hem.

The contestants were then called back in to hear the final results:

Garment of the week went to … Angeline for her bottom-hugging, peplum skirt.


Images courtesy of The Great British Sewing Bee


The contestant leaving this week was … Duncan.

Final Thoughts

I like this season of the GBSB.  Esme seems like a promising judge, but I thin it might take her another episode or two to seem really natural in the show.  The venue seems better this year, with the haberdashery actually in the sewing room.  The challenges this week seemed a little easy to me, and I'm not convinced the contestants are as skilled as previous seasons.  I'm looking forward to next week, and am hoping things get a little more challenging.

You might also like to check out these other blogs that have done some posts about this episode:

  • The Thrifty Stitcher - Claire-Louise Hardie is the Sewing Producer for The Great British Sewing Bee.  She posts some lovely tutorials on sewing techniques.
  • The Fold Line - have a list of all contestants and links to their blogs, website and social media. They have also reviewed the new GBSB Season 4 book.
  • By Hand London - Elisalex De Castro Peake has reviewed by new GBSB Season 4 book.
read more "The Great British Sewing Bee - Season 4 Begins"

25 April 2016

Beautiful and Practical Toiletry Bag


This morning we waved goodbye to Olivia, and sent her off on school camp.  They are off to a beach resort in Malaysia for five days.   I spent the last few weeks organising all the things on her packing list, and then sewing labels in all her clothes.  A new, enormous Decathlon store opened up near us a couple of months ago, which made it much easier to buy new swimmers, UV t-shirts, wet shoes and other gear.  Hooray for Decathlon.

Absolutely ages ago a tutorial for this very cute toiletry bag appeared on my Pinterest feed.

Source - handmadiya.com

I asked Olivia if she would like me to make her a toiletry bag to take to camp.  She was keen, so I started gathering supplies.  I visited Sing Mui Heng in the Textile Centre and picked up a zip, some waterproof fabric for the lining and a two part frame for the opening.  I already had a couple of nice cotton fabrics, fusible interfacing, fusible batting and leather scraps at home.

Materials (L to R) Leather, Fusible Batting, Outer Fabric, Wire Casing Fabric, Waterproof Lining Fabric, Zip


A wire frame measuring 20x4cm is required, but I could only find a frame that was 20x7cm.  I pulled the rubber stoppers of the ends of the frame, used wire cutters to shorten the ends and then put the stoppers back on.  It worked perfectly.

The tutorial prepared by handmadiya.com doesn't have a lot of detail.  There are some measurements for the main pieces and the wire frame, and photos of the steps.  What I did learn through trial and error is this:


  1. The measurements for the main piece of outer and lining fabric (31x33cm) is for the joined front and back pieces.
  2. The measurements for the narrow strips that join the zipper to the main pouch, and hold the wire frame inside (31x12cm) is for all four strips.  Each strip will measure 31x3cm once they are cut.
  3. The pictures seem to show firm, fusible interfacing being used, but I used fusible batting on the outer layer of fabric.  It really helped the bag hold it's shape, and I would totally recommend it.
  4. I would recommend cutting the the top edge of lining layer slightly shorter so that it doesn't bunch up inside the finished bag.  I didn't do this, and it scrunches up in the corners.
  5. I hand stitched the small openings closed where the wire frame is inserted.  This stops the wire frame poking out or moving around.
  6. I cut my batting in an H-shape so that it was only applied inside all the sewing lines.  This is how it should look:


I wanted to attach the leather ends to the zip using studs (like in the tutorial) but I didn't have the right studs.  In the end I sewed them on by hand.  My leather was quite thick and I needed to mark and punch the holes with an awl before I could sew them.

Here's the finished bag:


The bag worked out brilliantly (apart from the slightly bunched up lining fabric).  It looks so cute zipped up, and then the frame holds the shape perfectly when you open it.  There is plenty of space inside for the travel toiletries.  I even managed to put in a hairbrush, hair elastics and a few other items, without the bag being too full.

This was a very quick and easy make, and I would definitely recommend giving it a go.
read more "Beautiful and Practical Toiletry Bag"

18 October 2015

Getting Crafty in the School Holidays - Modigliani Portraits


We enjoyed making Picasso Dogs so much, that we decided to have a go at making Modigliani Portraits using another Kids Art Week tutorial by Carla Sonheim.

Carla Sonheim has created six online art classes.  You can read about them and sign up here.


The Modigliani portraits were really easy to do, and looked fabulous.  Supplies needed are:

  • washable felt tip pens (I recommend the Crayola Supertips Washable Markers) - you want something that will bleed well when you brush over it with water
  • water colour paper
  • brushes
  • water
  • papertowel (for blotting your wet brushes)

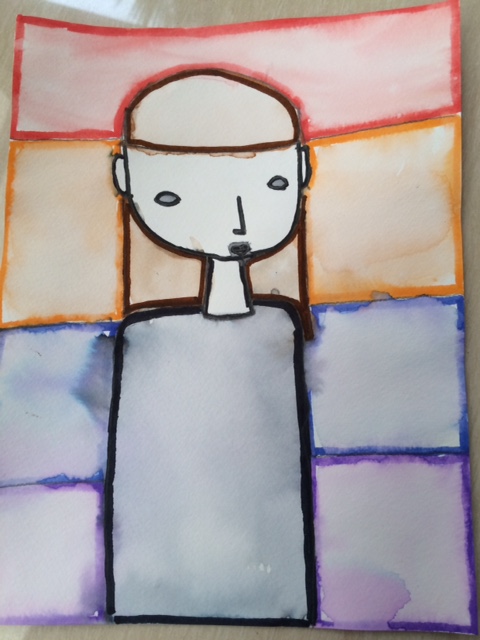
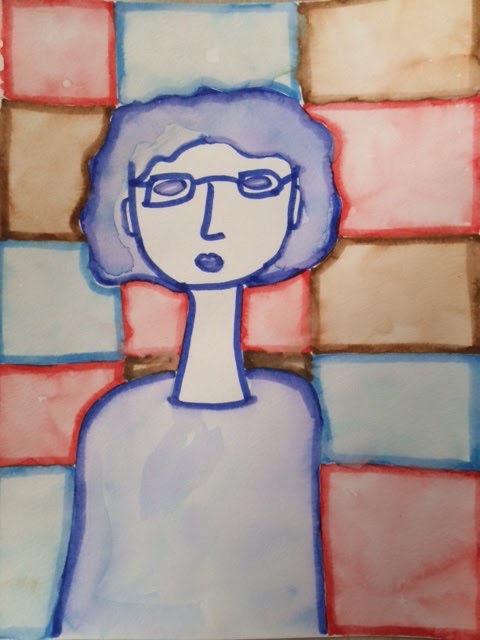
We started by watching the tutorial, then we got straight into creating our portraits.  Here's a selection of our portraits that I managed to photograph before they were given to lucky recipients:


Samantha's grade 2 teacher - Miss Victoria

Olivia's grade 5 teacher - Mr Jonathan

Olivia's Mandarin tutor - Tien Laoshi

Olivia's self-portrait

Olivia's grade 4 teacher - Mrs MacDonald

My own self-portrait

We enjoyed this activity so much we did it a couple of times, including when a friend came over for a playdate.

It's not too late to sign up for Carla's online classes.  We had great fun, and would totally recommend giving them a go.
read more "Getting Crafty in the School Holidays - Modigliani Portraits"

16 October 2015

Totally Awesome Lego Storage Solution


Our Lego collection has been steadily growing in the past couple of years.  I wanted to come up with a Lego storage solution that would be easy to access and, most importantly, neat and tidy.  When I talked with the girls they were adamant they wanted their Lego sorted into the original sets.  I spent a good week sorting the lego into sets, putting them into containers and adding a label to the lids showing which set the pieces belonged to.


It was great … until the girls made up several sets, pulled them apart and jumbled the pieces together.  There was no way I was going to sort all that Lego out again.

Eventually I convinced the girls that it would be a great idea to store the Lego by colour.  This was our inspiration:

© iheartorganizing


While I love the IKEA Trofast storage shelves, there just isn't enough space to add extra shelves in the playroom.  We already have two IKEA Expedit bookshelves (no longer available, replaced by IKEA Kallax), and there's plenty of space in them to accommodate the Lego.  Those six compartments in the circle are where the new Lego storage is going to go.


It's not a great view, but you might be able to see that all those small containers of Lego sets are in the two bottom right compartments I've circled.  I've also got some Trofast tubs in the two bottom left compartments.  I had to put lids on the tubs so that I can stack them.

What I wanted to do was add rails of beading on each side of the compartments so that I could slide the Trofast tubs into the compartments.  Unfortunately, each compartment is approximately 2cm too wide for the tubs.


Eventually, I decided to add a piece of 10mm MDF on each side of the compartments to fill in the gap.  I bought my supplies from Ban Heng Long Trading (near Little India), and I would totally recommend them if you need any DIY supplies.  You can email them and arrange to have wood pre-cut, and then you just have to pick it up.  It was a zoo when I visited, so having the wood already cut was very helpful.  They cut the MDF to the exact measurements of the sides of each compartment.  I cut and attached wooden beading on each panel using PVA glue and small nails.


The next step was to paint the panels with white gloss enamel paint.


It took MANY coats of paint to get really good coverage, especially on the ends.  After several days of slowly adding coats of paint, the panels were ready.  My husband drilled two pilot holes into the panels, then attached them to each side of the Expedit compartments using screws.


The stark white of the new panels is a bit of a contrast to the slightly yellowed shelves, but I can live with that.  I used PowerPoint to make up some colour labels, then I attached them to the Trofast tubs using clear book covering adhesive.  The girls then helped me sort all the Lego into colours, and we slid our tubs back into the shelves.


What's the verdict?  Since I installed the new colour sorted Lego tubs, the girls have been on a Lego building frenzy.  I don't even want to show you a picture of the playroom!  They've both told me that it's so much easier to make a Lego set now.  They have no problem finding the pieces they need, they can pull out tubs and keep them handy while they're building.  This has been a great success.
read more "Totally Awesome Lego Storage Solution"

10 October 2015

My Self-Drafted Bridesmaid Dress


My lovely sister-in-law got married in July, and asked me to be one of her bridesmaids. She decided not to choose a single dress for us all, but instead just asked us to find something in lavender. It was a outdoors, daytime wedding so I wanted something cocktail in style.

I looked through loads of shops here in Singapore and couldn't find anything. Lavender just isn't a popular colour in RTW.  In the end I decided to sew it myself. 

I started by doing a Google search on bridesmaids dresses. There were some really awful dresses out there (think 1980s formal), but I did find a selection of dresses I really liked.


This one was my favourite:


I started to draft my pattern. I needed to transform my basic bodice block into a princess seam bodice with a boat neck at the front and a V at the back.

I found this excellent tutorial by LiEr on ikatbag, which gives very clear instructions on converting darts into a princess seam.

Ikatbag - Converting To Princess Seams

I also turned my skirt block into an A-line skirt, and added some invisible pockets into the seam using this tutorial.  By the way, adding invisible pockets is incredibly simple, and I plan to add them to more things I sew.

Make It & Love It - Adding Pockets

Once I had a first draft on my pattern, I made up a toile plain grey cotton that I picked up cheaply at Mustafa.  The bodice was too long, and the skirt wasn't the right shape. It should have been a slightly flared skirt. My husband helped pin the toile and I transferred the adjustments onto my pattern. I then made a second toile (please excuse the appalling photographs).


It was much closer to what I wanted. I then visited my lovely fit-buddy Emily , who was able to help with the final minor adjustments. I now had my perfect pattern.

I vaguely remembered seeing a fabric I liked in Chinatown, so I headed there one day. I visited every shop and found some good choices in plain lavender. I quite liked a few that had a texture a bit like Thai raw silk. I finally hit the jackpot in a little shop that specializes in Chinese silk
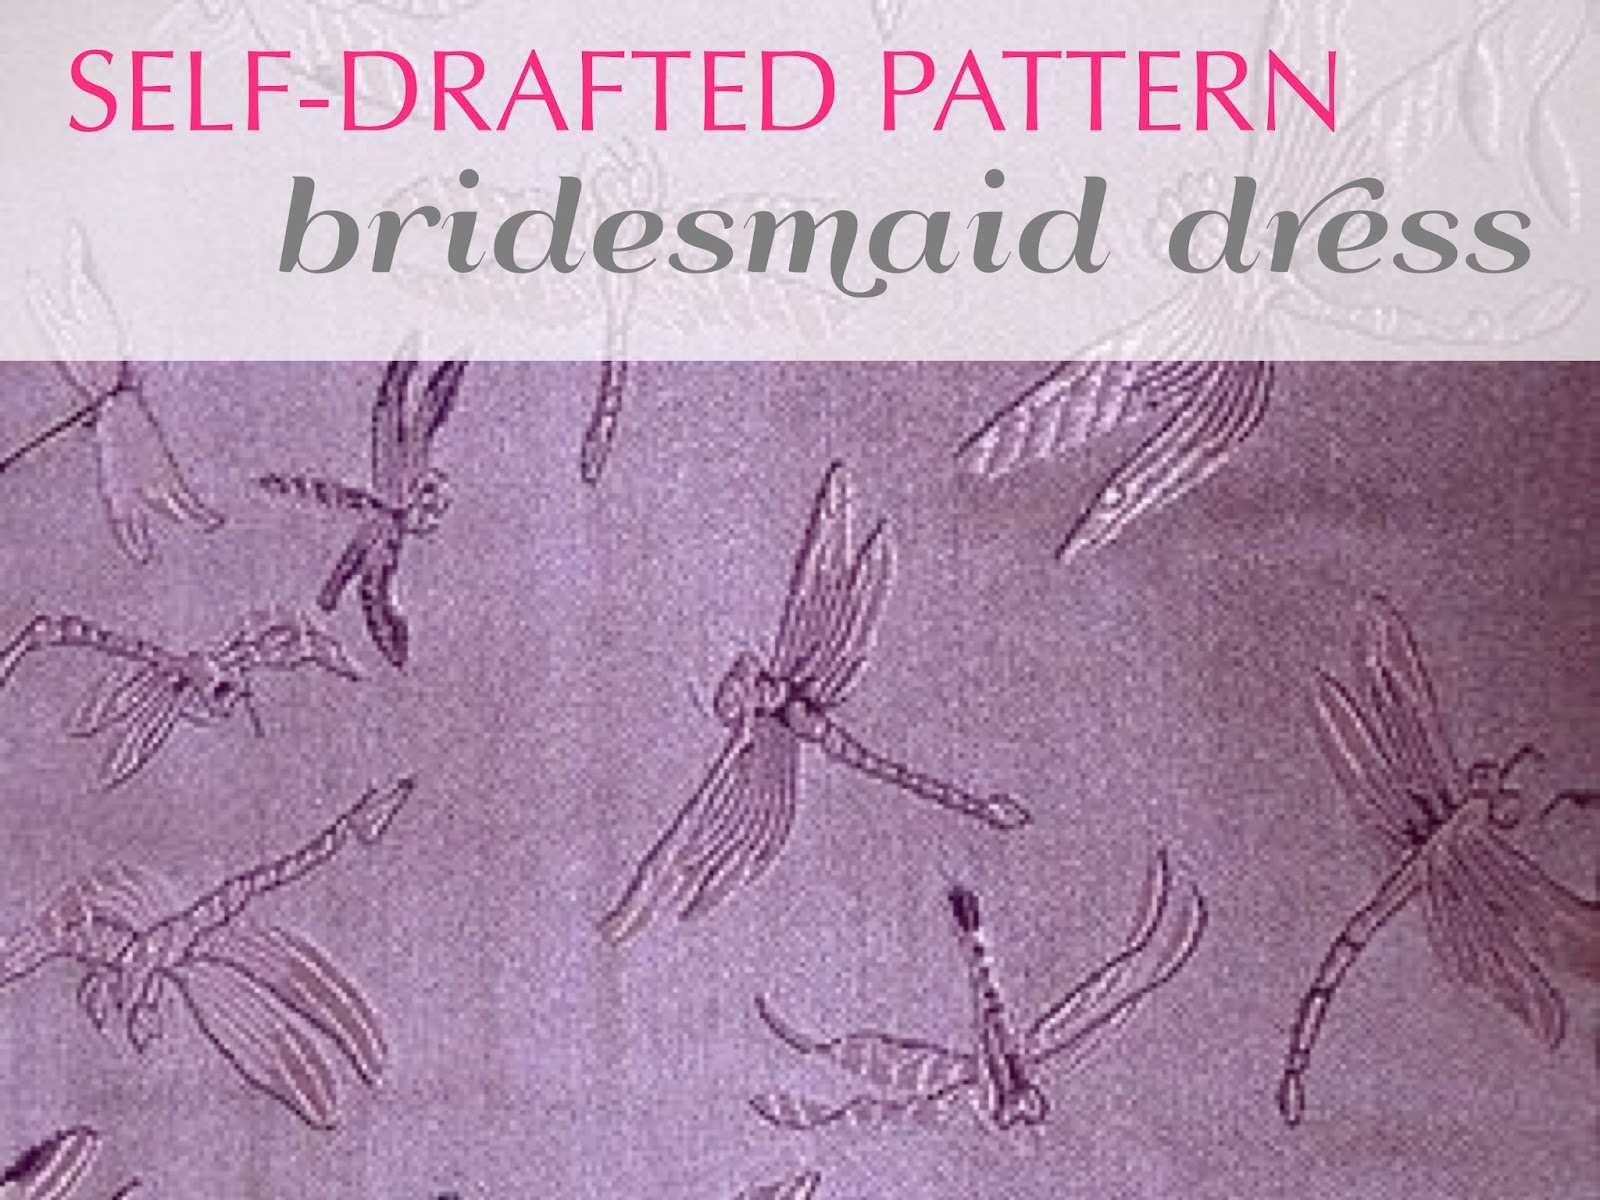
brocades. I found this amazing fabric:


It's a very muted lavender. I picked up a satin fabric to use as lining. I bought the last bit on the roll and had just enough.

I began by pinning my pattern to the silk brocade. To ensure I matched seams accurately I used a couture technique called thread tracing. I used silk thread in a contrasting colour to sew a line of running stitch around the edge of every pattern piece. Each seam has to be sewed with a separate thread, so this is time consuming work.


The silk brocade has to be handled very carefully. The weave is very mobile and is easily stretched out of shape. It also frays like crazy. I debated overlocking each piece, but decided not to as I didn't want to add any bulk.  Instead, I cut the pieces out using my pinking shears, to try and minimize fraying. I didn't bother with thread tracing on the lining. For the lining I cut the exact same pattern. To ensure the lining did not show at the neckline and armcyes, I used the advice from this tutorial by The Slapdash Sewist and trimmed the lining neckline and armscye seams down by 1/4". This will naturally encourage the silk brocade to roll to the inside of the bodice along those seams.

To piece the pattern together I followed these steps:


  1. Sew the princess seams on the front bodice (outer fabric and lining)
  2. Sew the princess seams on the back bodice (outer fabric and lining)
  3. Sew the shoulder seams (outer fabric and lining)
  4. Pin the outer fabric and lining pieces together at neckline (right sides together) and sew neckline
  5. Understitch the lining to the seam allowance along the neckline
  6. Pin the outer fabric and lining pieces together at armholes (right sides together) and sew armholes.  It's not possible to under stitch this seam (except by hand), so I just pressed it carefully. 
  7. This step is tricky to explain, and I stupidly didn't take a photograph.  Open up the side seams and separate the outer fabric from the lining.  Pin the side seam all the way from the waist of the outer fabric, to the bottom of the armscye, then continue along the lining to the waist of the lining.  Sew the side seam.  This picture from The Slapdash Sewist might be helpful.  In this picture the green fabric is the outer, and the white is the lining.  
The Slapdash Sewist

I then sewed up the skirt (adding the pockets using the Make It & Love It tutorial).  I joined the silk brocade skirt to the waist of the silk brocade bodice, and the lining skirt to the lining bodice.  I inserted an invisible zip into the centre back.  I've only done one invisible zip before, and it was very dodgy.  I looked at several tutorials to work out how it's done, and did a practice on a scrap of fabric.  It certainly helped to have an invisible zip foot.  Once I felt reasonably confident, I had a go on the actual dress and it worked perfectly.


I then sewed up the rest of the centre back seam, and hemmed the skirt.  Lastly I sewed a simple belt.  I cut a strip of fabric 2.5" wide, sewed along the length of the strip with a 1/4" seam allowance, and turned it right side out.  I turned the ends in and carefully hand stitched it to the waistband.  I used the belt fabric and created a bow, which I sewed on the front.  Finally I had finished my dress.


We packed our bags, and flew to the South of France for the big day.  I'm so glad I made the effort to create my own dress.  It looked fabulous on the day.

read more "My Self-Drafted Bridesmaid Dress"